
Table of Contents
- Why Natural Makeup Matters for Portrait Photography
- Makeup for Professional Headshots: Foundation and Base
- Photoshoot Makeup Tips for Eyes, Lips, and Cheeks
- Common Makeup Mistakes in Photos
- Choosing Shades for Different Skin Tones
- Application Techniques for Natural Makeup on Camera
- Frequently Asked Questions
Last Updated: 18 October 2026
Why Natural Makeup Matters for Portrait Photography
Getting your portrait taken is a big moment. Whether you’re an actor preparing for auditions, an entrepreneur building your personal brand, or a professional updating your LinkedIn headshot, how you look in the photo matters. The makeup you wear can make the difference between a shot that feels authentic and one that looks overdone or uncomfortable on camera.
Natural makeup for portrait photos isn’t about wearing no makeup at all. It’s about enhancing your features in a way that reads well on camera without drawing attention away from your face. Cameras pick up texture, colour, and definition differently from the human eye does. What feels subtle in person can disappear in a photograph, while heavy makeup can look harsh or artificial under studio lights.
At Neil Taylor Photography, we work with actors, entrepreneurs, and business professionals who need their best selves captured on camera. The most successful headshots we’ve produced share one thing in common: the subject looks like themselves, just more polished. That’s what natural makeup for portrait photos achieves.
The right approach depends on your skin tone, the lighting conditions, and what you’re using the photo for. An actor’s casting headshot needs different makeup choices than a corporate LinkedIn portrait. Understanding these differences helps you prepare properly for your session.
Makeup for Professional Headshots: Foundation and Base
Your foundation is the canvas for everything else. It needs to be smooth, even, and matched perfectly to your skin tone. On camera, mismatched foundation is one of the most noticeable mistakes because it creates a visible line around your jaw and neck.
Best Foundation for Photography
The best foundation for photography is one that photographs as a second skin, not a mask. Look for formulas that offer medium to full coverage without feeling heavy or looking cakey under lights. Matte finishes tend to photograph better than dewy ones because they don’t create unwanted shine or glare.
When selecting your foundation, test it in natural daylight first, then under indoor lighting. Foundations can look completely different depending on the light source. Warm-toned foundations suit most skin tones, but cool undertones work better for some people. The key is finding a shade that matches your neck, not just your face.
Apply foundation with a damp beauty sponge for the smoothest finish. Stipple it gently rather than buffing, which can disturb the product and create uneven coverage. Build coverage gradually in areas that need it most, around the nose, chin, and any blemishes, rather than applying heavy coverage everywhere.
Concealer and Colour Correction
Concealer serves two purposes in portrait makeup: covering blemishes and brightening the under-eye area. Under camera lights, dark circles become more pronounced, so a brightening concealer one shade lighter than your skin tone helps counteract this.
Apply concealer only where you need it. The under-eye area, around the nose, and any spots that need coverage are enough. Too much concealer creates a heavy, cakey appearance that photographs poorly. Set concealer lightly with a translucent powder to prevent creasing during your session.
Colour correction is optional for most people, but it helps if you have redness, dark spots, or uneven skin tone. A green-tinted corrector neutralises redness, while a peachy or orange corrector works for deeper skin tones with dark circles or hyperpigmentation. Apply colour corrector sparingly, then layer concealer on top.
Photoshoot Makeup Tips for Eyes, Lips, and Cheeks
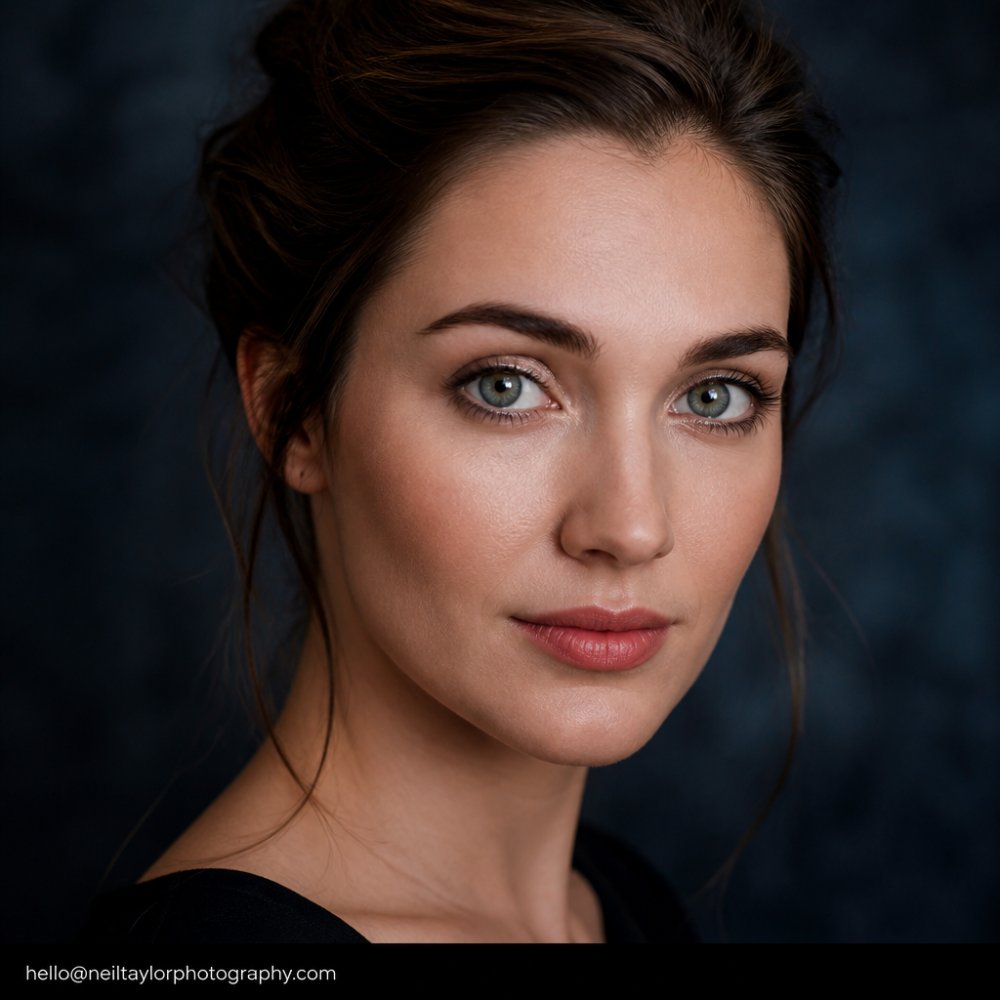
Your eyes are the focal point of any portrait. Makeup here should enhance their shape and colour without making them look heavy or overdone. The goal is to make your eyes appear slightly larger and more awake than they do in everyday life.
Eye Makeup That Reads on Camera
Define your eyes with a neutral, slightly warm-toned eyeshadow that complements your eye colour. Browns, taupes, and warm greys work across most skin tones and eye colours. Avoid cool-toned greys or silvers unless they genuinely suit your colouring, as they can look washed out on camera.
Line your upper lash line with a soft brown or black liner. Avoid thick, dramatic lines unless you’re going for a specific look. The liner should define without dominating. A thin line on the upper lash line and a slightly thicker line on the waterline (the inner rim of your eye) makes eyes appear larger and more defined.
Book your headshot session today →
Mascara is essential for portrait photography. It opens up your eyes and makes them more expressive. Apply two coats of black or brown mascara to both upper and lower lashes. Waterproof mascara is worth the investment because it lasts through the entire shoot without smudging or flaking.
Lips and Cheeks for Natural Definition
Your lips need colour that complements your skin tone and doesn’t compete with your eyes. For most people, a warm neutral shade, nude, warm pink, or soft coral, works best. Avoid very dark lips or bright reds unless that’s part of your personal brand or the shoot’s brief.
Use a lip liner slightly darker than your lipstick to define your lip shape, then fill in with lipstick. This prevents feathering and makes your lips appear fuller. A long-wearing liquid lipstick or lipstick with a primer underneath keeps colour from transferring or fading during your session.
Cheek colour brings life to your face on camera. Apply blush to the apples of your cheeks, blending upwards towards your temples. A warm peachy or rose tone works across most skin tones. The colour should look natural, as if you’ve just come in from fresh air, not like a stripe across your face.
Common Makeup Mistakes in Photos
Most makeup mistakes in photos stem from applying too much product or choosing the wrong shades. Heavy foundation, thick eyeliner, or overly dark eyeshadow can make you look older or harsher than you are in real life. The camera amplifies everything, so restraint is your friend.
Mismatched foundation is another frequent mistake. Even a half-shade difference becomes obvious on camera, especially around the jawline and neck. Always test your foundation match in multiple lighting conditions before your shoot.
Overdone contouring reads as harsh and unflattering on camera. Subtle blending is essential. If you contour, use a product only slightly darker than your skin tone and blend thoroughly. Heavy contouring that looks fine in person often appears muddy or striped in photographs.
Glossy or shiny finishes photograph poorly because they reflect light and create unwanted glare. Matte finishes are more forgiving on camera. If you prefer a dewy look, use a dewy primer rather than a glossy setting spray, which can cause shine under studio lights.
Neglecting to set your makeup is a mistake. A light setting powder keeps everything in place throughout your session. Avoid heavy powdering, which can look cakey, but a thin layer across the T-zone and cheekbones keeps shine at bay and helps your makeup last.
Choosing Shades for Different Skin Tones
The best natural makeup for portrait photos works with your skin tone, not against it. Warm undertones suit warm-toned makeup shades, whilst cool undertones work better with cooler shades. Most people have either warm, cool, or neutral undertones, though some people are a mix.
For warm undertones, reach for warm browns, warm pinks, peachy tones, and warm reds. Gold and bronze eyeshadows enhance warm skin tones. Warm-toned foundations with yellow or golden undertones blend seamlessly.
Cool undertones suit cool-toned makeup shades like cool browns, mauve, plum, cool pinks, and blue-based reds. Silver and cool-toned eyeshadows work beautifully. Foundations with pink or red undertones match cool skin tones best.
Neutral undertones can wear both warm and cool shades, but tend to look best with a balance of both. Experiment with different shades to see what makes your eyes pop and your skin glow.
Deeper skin tones need slightly more pigmented makeup shades to show up well on camera. Nude shades should match your actual skin tone, not a lighter version. Warm, earthy tones, terracotta, warm bronze, rich browns, photograph beautifully on deeper skin. Blush should have enough pigment to be visible; warm reds, deep oranges, and rich plums work well.
Fair skin tones often work best with cooler, more muted shades. Very bright or warm shades can overwhelm fair skin. Soft pinks, cool browns, and nude shades that match your skin tone create a balanced look.
Book your headshot session today →
Application Techniques for Natural Makeup on Camera
How you apply makeup matters as much as what you apply. Smooth, blended application looks polished on camera, whilst patchy or streaky application becomes obvious.
Start with a primer. A good primer creates a smooth base for foundation and helps makeup last throughout your session. Apply primer to your entire face, focusing on areas where you tend to get oily or where makeup tends to wear off first.
Apply foundation with a damp beauty sponge, working in small sections. Stipple the product gently rather than buffing, which can disturb coverage. Pay special attention to blending around your jawline, hairline, and temples where foundation lines often become visible.
Blend everything thoroughly. Harsh lines between products, foundation and concealer, eyeshadow shades, blush and foundation, look obvious on camera. Use a clean brush or sponge to soften edges and create seamless transitions.
Set your makeup with a light setting powder applied with a fluffy brush. Avoid heavy powdering; a thin layer is enough. Some people prefer a setting spray instead, but matte finishes photograph better than dewy ones under studio lights.
Keep blotting papers and a makeup brush handy during your shoot. If shine appears under the lights, a quick blot and a light powder touch-up keeps you looking fresh without needing a full makeup reapplication.
Getting your makeup right for a portrait session takes practice and the right approach. The best natural makeup for portrait photos enhances your features without overshadowing your personality. At Neil Taylor Photography, we’ve helped hundreds of clients look their absolute best on camera. The difference between a good headshot and a great one often comes down to preparation, and makeup is a big part of that.
If you’re ready to have your portrait taken, we’re here to guide you through the process. Our team can offer makeup recommendations during your session and work with you to capture images that truly represent you at your best.
For questions about booking or to discuss your specific needs, email us at hello@neiltaylorphotography.com
Frequently Asked Questions
What makeup looks best in portrait photos?
Natural makeup that enhances your features without appearing heavy or overdone works best for portrait photography. Focus on a well-matched foundation, subtle eye definition, and neutral or warm-toned lips. The goal is to look like yourself but polished, camera lighting can wash out colour, so slightly more definition than you’d wear daily helps your features read clearly without looking artificial.
How do you make natural makeup show up in photos?
Increase definition slightly compared to everyday makeup. Add a touch more eyeshadow, eyeliner, and blush than usual, the camera absorbs colour intensity. Blend everything seamlessly so the enhancement remains natural-looking. Matte finishes photograph better than shimmer, which can create unwanted reflections.
Should you wear foundation for a portrait photoshoot?
Yes, foundation is essential for professional portrait photography. It creates an even skin tone, minimises blemishes, and provides a smooth base that photographs well under studio lighting. Ensure it matches your skin tone exactly. This creates a polished, professional appearance without looking heavy or mask-like on camera.
What makeup mistakes should you avoid for portrait photography?
Avoid overly shiny or glittery products, which reflect light and distract from your face. Skip heavy contouring, it creates harsh shadows on camera. Don’t use foundation that’s too dark or too light, and avoid cool-toned makeup if you have warm undertones. Steer clear of bold, trendy colours that may date your headshots. Finally, don’t skip blending; harsh lines or uneven application are magnified by professional photography.