
Table of Contents
- Why Professional Headshots Feel Awkward and Stiff
- Best Poses for Professional Headshots That Look Natural
- Relax Your Face and Body Language
- Breathing Techniques and Psychological Grounding
- How to Prepare for a Headshot Session
- How Long Does a Professional Headshot Session Take
- Common Mistakes That Make You Look Camera-Shy
- Working With Your Photographer to Create a Relaxed Atmosphere
Last Updated: August 27, 2026
Why Professional Headshots Feel Awkward and Stiff
Professional headshots are supposed to show you at your best, yet many people feel camera-shy, rigid, and uncomfortable the moment the camera turns on. The problem isn’t you, it’s that most people don’t understand what causes stiffness in the first place. Your body tenses because you’re hyperaware of being watched. Your face freezes because you’re trying to control something you can’t consciously control. Your posture locks up because you’re uncertain where to place your weight.
Understanding these root causes transforms the session. When you know why stiffness happens, you can address it systematically. This isn’t about forcing a smile or adopting an unnatural pose, it’s about small, deliberate adjustments that let your authentic self come through on camera.
At Neil Taylor Photography, we work with professionals, actors, and entrepreneurs who may feel this way. The ones who leave with headshots they actually love aren’t naturally photogenic. They’re the ones who learned how to manage their body language, breathing, and mindset before the session began.
Best Poses for Professional Headshots That Look Natural
The best poses aren’t about striking dramatic angles. They’re about positioning your body in a way that projects confidence and authority whilst keeping you physically relaxed.
Micro-adjustments in Posture
Posture is where most headshot sessions go wrong. People either slouch to look casual or stand rigidly upright to look professional. Neither works.
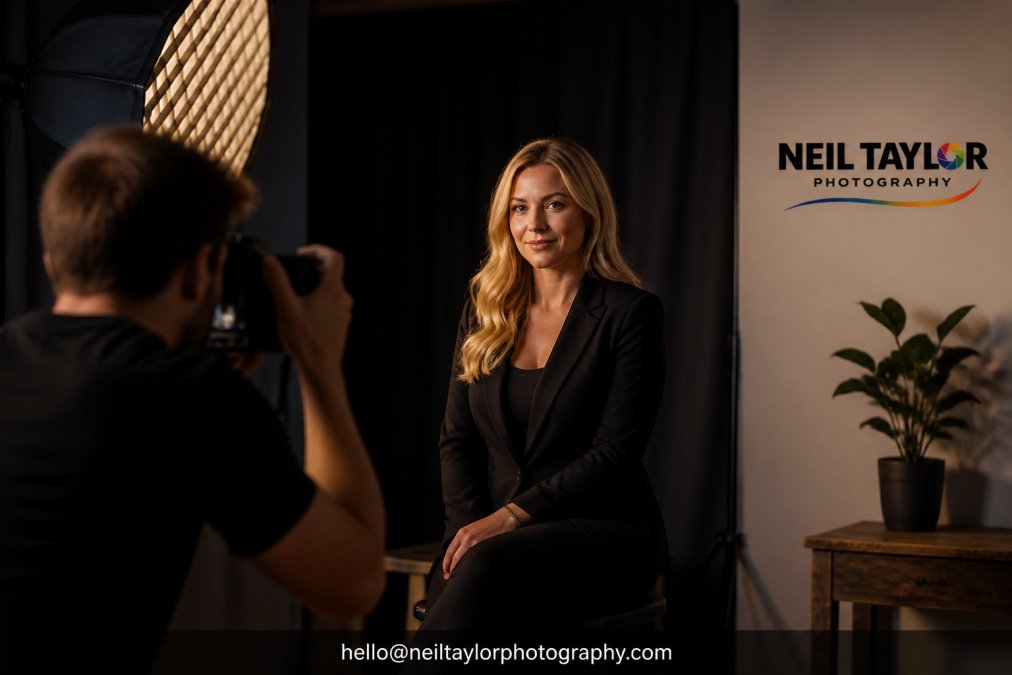
Sit or stand with your spine naturally aligned, but angle your torso slightly toward the camera rather than facing it square-on. This creates dimension and makes you look more engaged. Your shoulders should sit back and down, not hunched forward. Tilt your chin very slightly downward and forward, as if you’re looking at something just below eye level. This prevents the unflattering double-chin angle and creates better facial definition. The adjustment is millimetres, not centimetres.
Your weight distribution matters more than people realise. If you’re standing, shift your weight slightly to one leg and bend that knee just a touch. This prevents the locked, military stance that reads as tense. Your body should feel grounded, not braced.
Shoulder Alignment and Weight Distribution
Your shoulders communicate authority or tension depending on how you position them. Pulled up toward your ears signals stress; relaxed and back signals confidence.
Roll your shoulders back and down in one smooth motion and let them settle naturally. This opens your chest and creates better body language in the frame. Avoid holding them rigidly, the goal is to feel relaxed, not posed.
Stand with your feet shoulder-width apart and put about 60% of your weight on your back foot and 40% on your front foot (the American Academy of Dermatology). This creates a slight forward lean that engages the camera without looking aggressive. If you’re sitting, lean very slightly forward from your hips rather than slouching back into the chair. This prevents the sunken, disengaged look that happens when people relax too much.
Hand Placement and Natural Movement
Hands are the hardest thing to manage in a headshot because most people have no idea what to do with them. For a tight headshot, rest one hand on your opposite arm or let both hands rest naturally at your sides. For a slightly wider shot, bring one hand to your chest or rest both hands loosely in your lap if sitting. The key is that your hands should look purposeful, not random.
Avoid locking your hands in place. Let them breathe. Small, subtle shifts in hand position between shots create variety and help you feel less frozen. Movement actually reduces tension because it gives your nervous system something to do.
Relax Your Face and Body Language
Facial tension is the biggest giveaway that someone is uncomfortable in front of a camera. A tight jaw, pursed lips, and forced smile all read as camera-shy or inauthentic.
Jaw Relaxation and Facial Tension Release
Most people clench their jaw without realising it. Release your jaw by opening your mouth slightly, then letting it close naturally. Your teeth should be just barely touching, not clenched. This small release ripples through your entire face.
Place your tongue on the roof of your mouth, just behind your upper front teeth. This prevents the sunken cheek look and naturally supports better facial structure in the frame. Avoid the wide-eyed stare that signals fear or surprise. Instead, let your eyes settle naturally and think about something that interests you. Your eyes will soften, and your expression will become more authentic.
Book your headshot session today →
Eye Contact and Authentic Expression
Eye contact with the camera isn’t about staring intensely. It’s about making a connection. Think of the camera as a person you’re having a genuine conversation with, not an object you’re trying to impress. This mental shift changes everything.
Blink naturally between shots. When the photographer is ready to shoot, take a breath, blink once, and then look at the camera with a relaxed, open expression. This prevents the glazed, exhausted look that happens when people stare without blinking. Your mouth should follow your eyes, if your eyes are engaged and warm, your mouth will naturally soften into a genuine expression.
Breathing Techniques and Psychological Grounding
How you breathe before and during your session directly affects how you look on camera. Shallow breathing creates tension; deep breathing releases it.
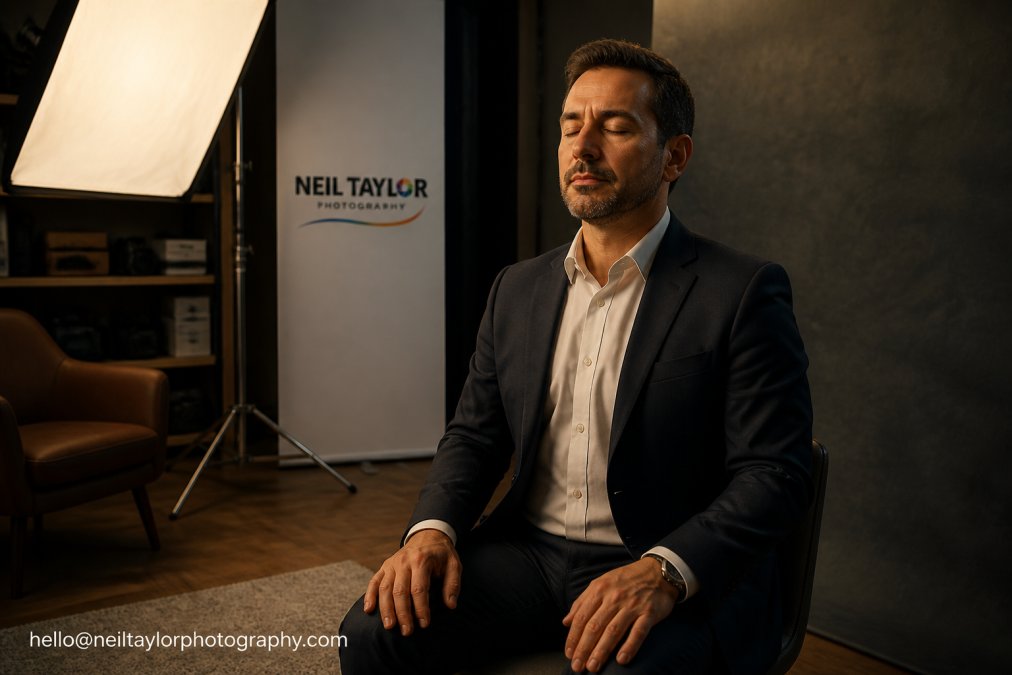
Most people hold their breath during the actual shot, which creates visible tension in their face and neck. Take a full breath in through your nose, hold it for a count of two, and release it slowly through your mouth. Do this three or four times before your photographer takes the shot. Your nervous system will calm, and you’ll look noticeably more relaxed.
Before your session, spend a few minutes doing a body scan. Start at the top of your head and mentally check in with each muscle group. Notice where you’re holding tension and consciously relax those areas. During the actual shoot, focus on your breathing rather than the camera. This keeps your mind occupied and prevents the self-conscious spiral that creates stiffness.
How to Prepare for a Headshot Session
Preparation determines how relaxed you’ll feel on the day. The more you know what to expect and how to present yourself, the less anxious you’ll be.
Clothing Choices That Won’t Make You Look Rigid
What you wear affects how your body feels and moves. Tight, restrictive clothing makes you feel tense and limits your natural movement. The sweet spot is well-fitted clothing that allows you to move freely. For corporate headshots, opt for structured fabrics that hold their shape but don’t restrict your shoulders or torso.
Natural fibres like cotton and linen breathe and move more naturally than synthetics. You’ll feel more comfortable, and that comfort translates to a more relaxed appearance on camera. Avoid anything that wrinkles easily or clings to your body in unflattering ways.
Bring a few options and discuss them with your photographer. You might start in one outfit and change partway through to give yourself variety and a chance to reset. Avoid anything that makes you feel self-conscious. If you hate how something looks or feels, you’ll project that discomfort.
Interactive Mirror Practice Before Your Session
Most people don’t see themselves the way the camera sees them. Mirror practice before your session closes that gap. Spend fifteen minutes in front of a mirror practising your expressions and poses.
Notice what your default expression looks like when you’re not thinking about it. This is often more relaxed than the forced smile you might default to in front of a camera. Practise subtle micro-adjustments, tilt your head slightly, shift your shoulders, notice how small changes affect your overall appearance. This builds muscle memory so that during your actual session, positioning feels natural rather than foreign.
Practise smiling without forcing it. Think about something that genuinely makes you happy or proud. Let that feeling guide your expression. Notice how different this looks from a forced smile. During your session, you’ll know how to access this genuine expression.
How Long Does a Professional Headshot Session Take
Understanding the timeline helps you manage your energy and expectations. Most professional headshot sessions last between 30 minutes and 90 minutes, depending on what you’re shooting and how many outfit changes you want.
A basic single-outfit session typically takes 30 to 45 minutes. If you’re doing multiple outfits or a more comprehensive session, plan for 60 to 90 minutes.
The first 10 to 15 minutes of any session is usually the stiffest. By the 20-minute mark, most people relax significantly (peer-reviewed research). By 45 minutes, you’re usually in your best rhythm. If you’re doing a longer session, plan for a brief break around the halfway point. This prevents the exhausted, stiff look that comes from shooting for too long without a pause.
Book your headshot session today →
Common Mistakes That Make You Look Camera-Shy
The most common mistake is overthinking. The moment the camera turns on, you become hyper-aware of every muscle in your body. Give your mind something to focus on other than the camera. Think about a project you’re excited about or a goal you’re working toward.
Another frequent mistake is holding your breath. This creates tension in your face, neck, and shoulders and makes you look slightly panicked. Breathe naturally throughout the session, even during the actual shot.
Forcing a smile nearly always creates a stiff, uncomfortable look. A genuine smile engages your eyes and spreads naturally across your face. If smiling feels unnatural, ask your photographer if you can do a neutral expression instead.
Wearing something you feel self-conscious about creates visible discomfort. Choose clothing that fits well and makes you feel confident before you arrive. Finally, comparing yourself to other headshots or worrying about how you’ll look is a guaranteed way to create stiffness. Your job is to look like an authentic, confident version of yourself.
Working With Your Photographer to Create a Relaxed Atmosphere
Your photographer’s role is to help you feel comfortable and look your best. Before your session starts, have a conversation about what you’re hoping to achieve. Are you going for corporate authority? Creative warmth? Approachable professionalism?
During the session, ask for feedback. If something doesn’t feel right, say so. A good photographer will adjust the lighting, composition, or direction. Your photographer should also be giving you specific direction, not vague instructions like "look natural," but concrete guidance like "shift your weight to your left leg" or "think about something that makes you proud."
The atmosphere matters. A good photographer will play music, chat between shots, and create an environment where you feel at ease. Trust your photographer’s eye. They see you through the lens in ways you can’t see yourself. Your job is to stay present and relaxed. Their job is to capture that.
Feeling camera-shy or stiff in front of the camera doesn’t mean you’re not photogenic. It means you haven’t yet learned how to manage your body, breathing, and mindset in that specific context. These techniques work because they address the actual causes of stiffness: tension, self-consciousness, and uncertainty.
The best professional headshots come from a combination of physical preparation, psychological grounding, and collaborative direction from someone who knows how to bring out your best self on camera. At Neil Taylor Photography, we specialise in helping professionals, actors, and entrepreneurs move past the awkwardness and create headshots that actually represent who they are.
Ready to book your session? Check Availability or get in touch at hello@neiltaylorphotography.com to discuss your headshot needs.
Frequently Asked Questions
How can I stop looking stiff in professional headshots?
Stiffness usually comes from tension in your shoulders, jaw, and posture. Start by dropping your shoulders away from your ears, slightly rotating your torso toward the camera, and keeping your weight distributed evenly on both feet. Practice micro-adjustments, small shifts in chin position and eye level make a huge difference. Most importantly, use breathing techniques before the shot: take three deep breaths, exhale fully, then hold a relaxed expression as the shutter clicks. This combination of physical positioning and psychological grounding helps you look natural rather than rigid.
What should I wear for a professional headshot to avoid looking uncomfortable?
Clothing that's too tight, restrictive, or unfamiliar will make you feel stiff on camera. Wear well-fitted clothes you've worn before and feel confident in, this reduces self-consciousness. Avoid high necklines or collars that restrict neck movement, and choose fabrics that allow your shoulders and torso to move naturally. Solid colours work better than busy patterns, as they keep focus on your face and body language. Bring a change of outfit to your session so you have options and can relax between shots.
How long does a professional headshot session typically take?
Most professional headshot sessions last between 45 minutes and 90 minutes, depending on the photographer's approach and how many outfit changes or variations you want. This timeframe allows your photographer to direct you through poses, capture multiple expressions, and help you relax into the camera. The first 10-15 minutes are often spent settling in and discussing your goals, which helps reduce camera awkwardness. Longer sessions give you more chances to find your natural rhythm and authentic expression, reducing the chance of stiff or forced-looking shots.
What are the most common mistakes people make that result in awkward headshots?
The biggest mistakes are holding tension in your shoulders and jaw, looking directly at the lens without intention, and over-thinking your expression. Many people also tilt their chin too far forward or backward, creating unflattering angles. Wearing uncomfortable clothing or not preparing mentally before the session increases camera-shyness. Post-session review anxiety, worrying about how you look, can also lead to second-guessing natural shots. Working with a photographer who directs you through poses and creates a comfortable atmosphere helps you avoid these pitfalls entirely.
This article was written using GrandRanker