
Table of Contents
- Start Your Headshot Preparation Checklist Two Weeks Out
- How to Prepare Skin for Headshots the Week Before Your Session
- Headshot Make-Up Tips for a Natural, Camera-Ready Finish
- How to Reduce Shine in Photos Without Flattening Your Skin
- How to Cover Spots for Photos Without Caking Your Skin
- The Morning of Your Headshot: A Simple Skin Routine
- Common Mistakes When You Prepare Skin for Headshots
- Frequently Asked Questions
Last Updated: October 12, 2026
Start Your Headshot Preparation Checklist Two Weeks Out
Great headshots start long before you step in front of the camera. If you want to know how to prepare skin for headshots, the honest answer is that it begins roughly two weeks before your session, not the night before. At Neil Taylor Photography, we see the difference clear skin preparation makes in every shoot we run across London and Kent.
Here’s the good news: you don’t need a complicated routine. You need consistency, a few smart swaps, and the discipline to leave your skin alone in the final stretch. Below, we’ll walk through exactly what to do, week by week, so your skin looks calm and camera-ready on the day.
The single biggest factor in camera-ready skin isn’t a product. It’s starting early enough that your skin has time to settle before the shoot.
Two Weeks Before: Build the Basics
Two weeks out is when you build the habits that carry you to shoot day. This is not the time for experiments.
- Drink more water than usual and keep it steady
- Get consistent sleep, since tired skin shows on camera
- Stick to products your skin already knows
- Book a facial now, not later
- Cut back on alcohol and salty food
A common mistake is trying a brand-new serum or treatment two weeks out. If your skin reacts, you have no time to recover. Keep your routine boring and predictable.
The Final 48 Hours: What to Stop Doing
The last two days are about restraint, not action. Stop exfoliating, stop trying new products, and stop picking at your skin. Anything aggressive now can leave redness or flaking that no make-up fully hides.
Keep cleansing gentle and moisturising generous. If you usually get a facial, the timing matters, and we’ll explain why shortly.
How to Prepare Skin for Headshots the Week Before Your Session
The week before is where most of the real work happens. Get the order right and your skin will thank you on camera.
Cleanse, Exfoliate and Hydrate in the Right Order
The right order is cleanse, then exfoliate gently, then hydrate. Doing these steps in sequence, and not overdoing any of them, keeps skin smooth without stripping it.
- Cleanse: Use a mild, non-foaming cleanser morning and night
- Exfoliate: Once or twice this week, no more
- Hydrate: Apply moisturiser while skin is still slightly damp
- Protect: Wear SPF daily, even indoors
Over-exfoliating is the most common error. It leaves skin tight, red, and patchy, which is the opposite of what a camera wants.
Why Timing a Facial Matters More Than the Facial Itself
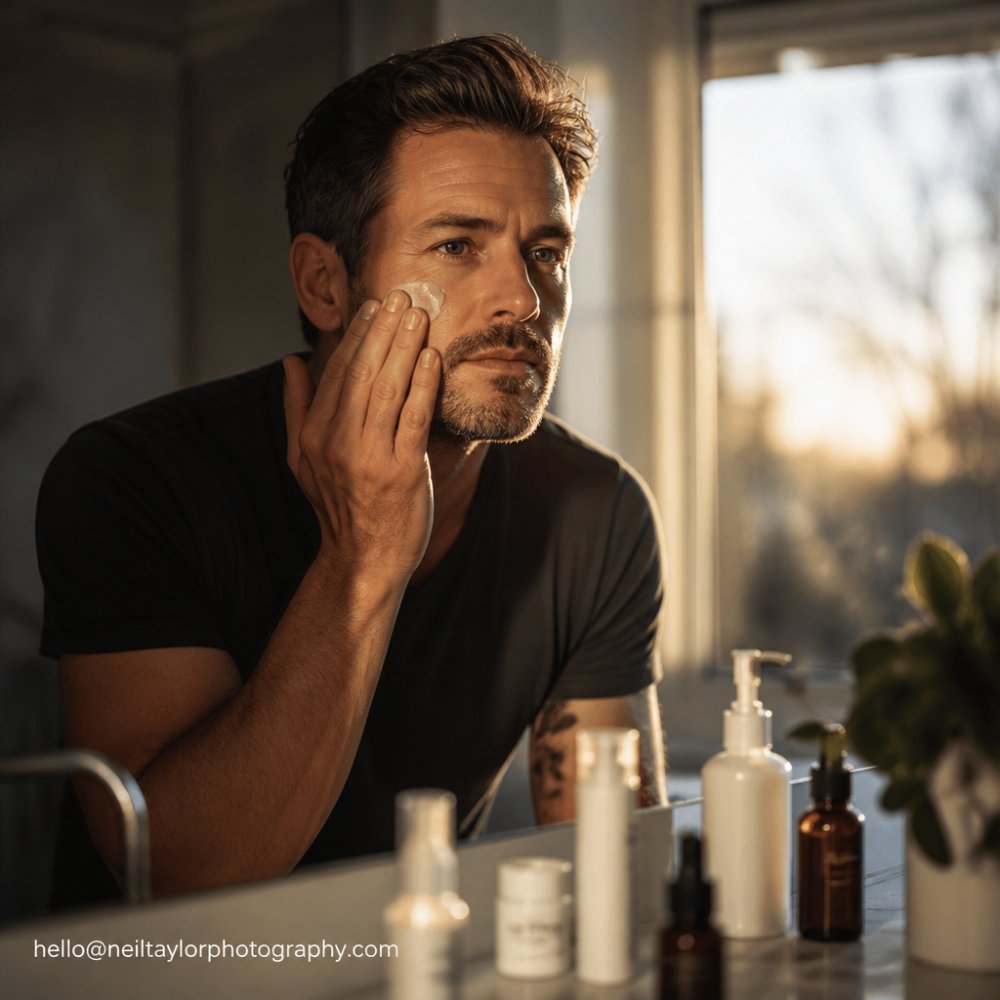
A facial can help, but only if you time it well. Book it at least five to seven days before your session. That window lets any redness or purging settle.
Book your headshot session today →
Get it too close to the shoot and you risk blotches, breakouts, or puffiness on the day. The type of facial matters less than the timing. A simple hydrating treatment beats an aggressive one every time.
If you’re unsure, skip the facial entirely. Calm, consistent skin beats a last-minute treatment.
Headshot Make-Up Tips for a Natural, Camera-Ready Finish
Natural make-up photographs better than heavy make-up. The camera picks up texture, so the goal is to even out skin, not cover it in layers.
Here are our headshot make-up tips for a clean finish:
- Start with a hydrating primer, not a mattifying one
- Use a light foundation or tinted moisturiser
- Apply concealer only where you need it
- Skip heavy powder, which can look chalky
- Choose a cream blusher over powder
- Keep lips and brows natural but defined
The thing nobody tells you about camera make-up is that less is genuinely more. A sheer base that lets your skin show through reads as healthy and real.
How to Reduce Shine in Photos Without Flattening Your Skin
Shine control is about balance. You want to remove greasy highlights without making skin look flat and lifeless.
Blotting paper is your friend here. Press it gently on your T-zone just before the camera comes out, rather than adding more powder. A light dusting of translucent powder on the forehead, nose, and chin is fine, but stop there.
Blot first, powder second. Most people reach straight for powder, which builds up and looks heavy. Blotting removes oil without adding product.
Keep the rest of your face slightly dewy. Skin with a little natural glow looks alive on camera. Skin that’s fully matte looks dull.
How to Cover Spots for Photos Without Caking Your Skin
Covering spots well comes down to technique, not product quantity. Build up thin layers instead of one thick one.
- Use a small brush, not your finger
- Apply concealer in thin layers
- Tap, never rub, to blend
- Set only the spot, not the whole face
- Match the concealer to your skin tone
If you have a spot that’s red or angry, a green-toned corrector under concealer can neutralise it. The key is a light touch. Caked-on concealer draws attention to exactly what you’re trying to hide.
Book your headshot session today →
The Morning of Your Headshot: A Simple Skin Routine
Keep shoot-day morning simple. You want calm skin, not a ten-step routine.
- Cleanse gently with lukewarm water
- Moisturise as normal
- Apply SPF if you’re travelling to the shoot
- Skip anything new or active
- Arrive with a clean, bare face if make-up is provided
If you’re doing your own make-up, apply it in natural light where possible. Bring your blotting paper and a light powder for touch-ups. Then relax. Nervous energy shows, calm skin doesn’t.
Common Mistakes When You Prepare Skin for Headshots
Most skin problems on shoot day come from doing too much, too late. Here are the mistakes we see most often:
- Trying new products in the final week
- Over-exfoliating in the days before
- Booking a facial too close to the session
- Picking or squeezing spots
- Drinking heavily the night before
- Skipping sleep and water
Each of these shows up on camera. The fix is almost always the same: do less, start earlier, and let your skin settle.
Preparing your skin is half the work. The other half is choosing a photographer who knows how to light and direct you so you look natural, not stiff. Neil Taylor Photography specialises in actor, professional, and LinkedIn headshots, with both studio and on-location sessions across London and Kent. We help you plan everything from what to wear to how to sit, so you arrive calm and leave with images that build trust and elevate your personal brand.
Check Availability or email us at hello@neiltaylorphotography.com to book your headshot session today.
Frequently Asked Questions
How should I prepare my skin before a headshot?
Start a simple routine about two weeks before your session: cleanse twice daily, moisturise morning and night, and drink plenty of water. Exfoliate gently once or twice a week, then stop any strong treatments 48 hours before the shoot. On the day itself, cleanse, moisturise lightly and avoid trying new products. If you want guidance tailored to your skin, ask your photographer before the session so your routine fits the lighting and setup they use.
Should I exfoliate before a headshot?
Yes, but timing matters more than frequency. Exfoliating once or twice in the week before your session removes dead skin cells so make-up sits smoothly and light reflects evenly. Stop at least two days before the shoot. Exfoliating the night before can leave skin red, tight or flaky, which shows clearly under studio lighting. If your skin is sensitive, use a gentle chemical exfoliant rather than a scrub and patch-test it first.
How can I reduce shine in headshot photos?
Blotting papers are the simplest fix: press them gently on your forehead, nose and chin just before you step in front of the camera. A light dusting of translucent powder on the T-zone helps, but avoid heavy powder elsewhere because it can look flat in photos. Mattifying primers work well under studio lights, and keeping your moisturiser lightweight on the day stops excess oil before it starts.
What should I do if I have a spot on the day of my headshot?
Do not pick or squeeze it, as this makes redness and swelling worse and takes days to settle. Apply a small amount of green-toned concealer to neutralise redness, then dab a matching concealer over the top with a clean finger or small brush. Keep the rest of your make-up light so the area does not stand out. Tell your photographer, as they can adjust lighting and angles to soften it further.